

DIY Family Charging Station: A Safer, More Organized Setup

A DIY family charging station gives every phone, tablet, watch, and pair of headphones a home instead of leaving a tangle of cables across the kitchen counter. The best setup is not the most elaborate wooden project. It is a stable, ventilated charging zone with enough ports, correctly matched cables, clear labels, and a routine everyone can follow.
Explore KEUTEK fast wall chargers for a multi-port foundation for your family charging station.
What makes a DIY family charging station work?
Short answer: A useful family charging station combines five decisions: a low-traffic location, enough space for the devices you actually own, a charger with appropriate ports, cables routed without sharp bends or pinch points, and a simple return routine. Build around those decisions first, then choose a shelf, tray, pegboard, cubby, or drawer insert.
Think of the station as a small household system rather than a piece of furniture. It needs to make the safe choice the easy choice. A child should know where a tablet belongs, a parent should be able to identify a damaged cable quickly, and nobody should need to pull a charger from behind a sofa to reach an open port.
- One location: Choose a consistent place where devices can be seen and reached without blocking a walkway.
- One bay per device or person: Give each regular user a defined space instead of piling devices together.
- One cable path: Route each cable from the charger to its bay with enough slack for normal use.
- One charging plan: Count ports and power needs before you buy a charger or start cutting wood.
- One household rule: Devices return to the station at a predictable time, such as after homework or before bedtime.
The result can be as simple as a wooden organizer on a console table. It can also be a wall-mounted shelf with removable bins. DIY means making the layout fit your household, not taking on electrical work you are not qualified to perform.
Where should you place the charging station?
Short answer: Place the station on a stable, dry, hard surface near a suitable wall outlet, but away from sinks, stovetops, heaters, direct sunlight, and heavy foot traffic. Leave room around the charger for airflow and make sure cords do not cross a walkway, hang where they can be pulled, or sit under rugs.
Families often choose the kitchen because it is central, but central does not always mean safe or convenient. A sideboard, entryway console, home office shelf, or open bookcase can work better if it keeps devices visible without placing electronics near water or cooking heat.
Use this location checklist before building:
- Check the outlet: Make sure the receptacle is in good condition and close enough that the charger cord does not need to stretch.
- Check the surface: Prefer a solid, level, nonflammable surface that will not tip when several devices are added.
- Check the airflow: Do not enclose a charger in a tight box or cover it with fabric, books, or other objects.
- Check the traffic: Keep the station out of a path where a cord could be snagged by a person, pet, or vacuum.
- Check visibility: Adults should be able to inspect the station without moving several devices or opening a crowded drawer.
If you plan to install a new receptacle, replace an outlet, or alter household wiring, stop the DIY portion and use a qualified electrician. The organization project can be yours. Permanent electrical work should follow local requirements and professional guidance.
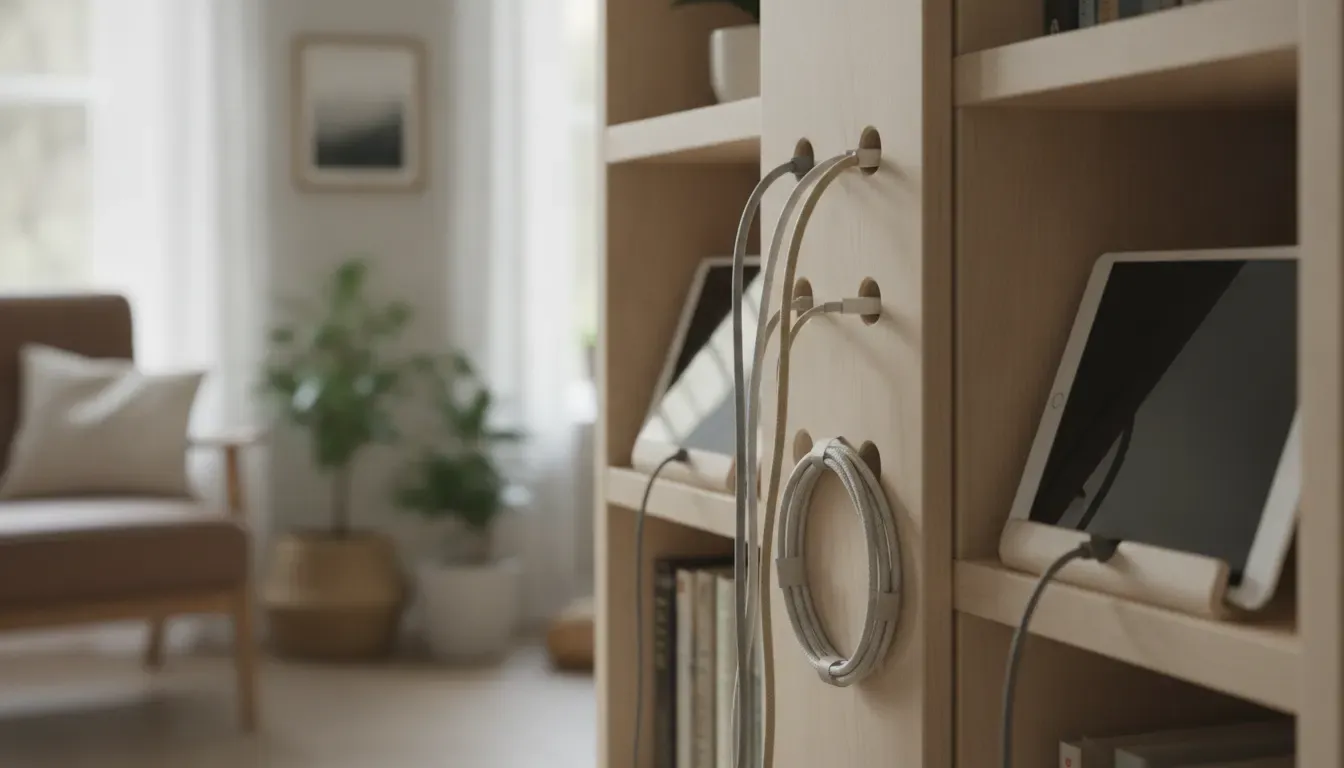
How do you plan ports, devices, and cable lengths?
Short answer: Start with a device inventory, not a charger shopping list. Count the phones, tablets, headphones, watches, handheld game systems, and backup devices that will charge at the same time. Then match port types, output requirements, and cable lengths to those devices, leaving a little capacity for the next device your household will add.
Make a quick inventory with three columns: device, connector, and usual charging location. Include occasional devices if they regularly compete for the same outlet. This prevents a common failure mode: building a beautiful station with four USB-C bays when half the household still uses USB-A cables.
| Device group | Planning question | Practical station choice |
|---|---|---|
| Phones and small accessories | Will several devices charge overnight or during a family reset time? | Reserve easy-to-reach bays and short cables that stay connected to the charger. |
| Tablets and larger screens | Do the bays support the device without covering vents or stressing the connector? | Use wider slots, stable stands, and cables with enough length to reach without tension. |
| USB-C laptops or handheld systems | Does the charger and cable support the device's required charging profile? | Use a compatible high-output port and a properly rated USB-C cable. |
| Mixed connector households | Which devices use USB-C and which still use USB-A cables? | Choose a charger with the needed port mix or assign separate cable lanes. |
A charger with more ports is not automatically better. Read the output information and understand whether the total output is shared when multiple devices are connected. The KEUTEK 65W Fast Charging Wall Charger is one current example of a compact charger with two USB-C PD ports and one USB-A QC 3.0 port. Use the published specifications as a starting point, then confirm that they match your devices and cables.
Cable length matters as much as cable rating. A cable that is too short pulls on the device connector. One that is too long creates loops that can catch on hands or collect behind the station. Measure from the charger's final position to each device bay, then add only enough slack for comfortable placement.
How can you organize cables without creating hazards?
Short answer: Keep cables separated, visible, and gently supported. Use smooth pass-through holes, removable clips, hook-and-loop ties, or labeled cable lanes instead of tight knots, sharp bends, staples, or permanent pinches. Leave enough slack for a person to lift a device without pulling the charger from the outlet.
There are several simple ways to build the cable path:
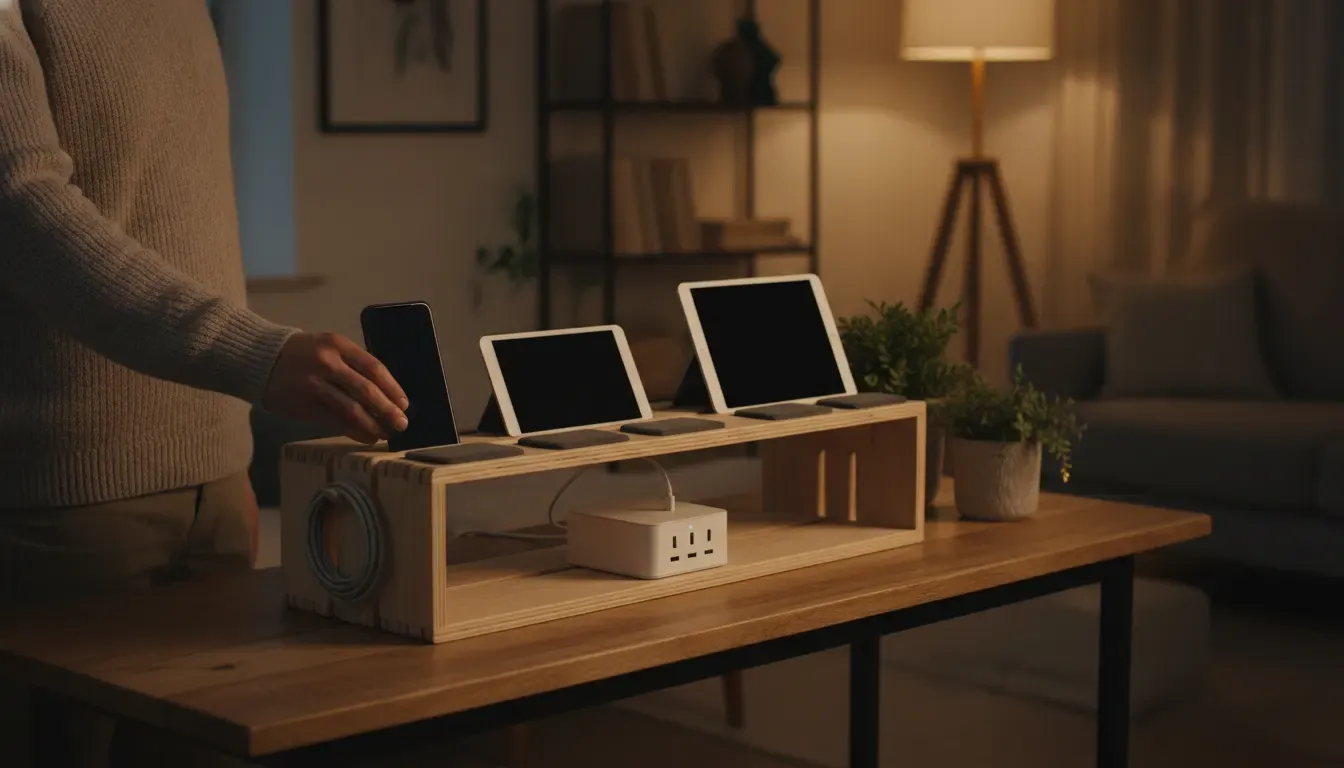
- Open shelf: Drill or cut smooth openings in a wooden organizer, then add a soft edge or grommet where a cable passes through.
- Removable bins: Put one device or family member in each bin and route the cable through a hole large enough to prevent rubbing.
- Wall pegboard: Use spacers behind the board so cables have room to pass without being crushed against the wall.
- Drawer insert: Keep the charger in an open or ventilated section and use dividers to stop devices from stacking on top of cables.
- Desk tray: Use clips along the back edge and coil only the extra length, never the active section near the connector.
Label the cable at the charger end, not only at the device end. A small color band or durable tag can identify a child's lane or a connector type without adding a loose label near a warm charger. The label should remain readable after repeated handling and should not interfere with the plug.
Inspect the cable path after the first week. Families often discover that a tablet needs a wider slot, a pet can reach one dangling cord, or the charger shifts when every port is occupied. Adjust the layout before those small problems become daily clutter.
How do ventilation and surface choice affect safe charging?
Short answer: A charging station should allow heat to dissipate instead of trapping a charger under fabric, inside a crowded drawer, or behind a stack of devices. Use an open, stable surface, keep vents unobstructed, and investigate unusual heat, odor, noise, swelling, or visible damage instead of continuing to charge through it.
Charging creates heat, and heat management is part of good organization. A tidy box that blocks airflow is less useful than an open shelf that leaves the charger visible. Do not cover a wall charger with a cloth, place it under a pillow, or pack it tightly against other heat-producing equipment.
Build ventilation into the physical design:
- Leave open space around the charger body and its cable connections.
- Use open sides or ventilation gaps if the station has a cabinet-like shape.
- Keep devices upright or supported so screens and backs are not pressed tightly together.
- Do not store loose batteries, power banks, or damaged electronics in the charging bay.
- Place the station where adults can see it and disconnect a device if something looks wrong.
These are practical household safeguards, not a replacement for the instructions supplied with a charger or device. If a charger or cable becomes unusually hot, smells burnt, shows melted plastic, has exposed conductors, or makes an unexpected sound, unplug it when safe to do so and replace it with a compatible product. Do not keep testing a visibly damaged cable.
What should you know about surge protection and overloads?
Short answer: A charging station does not create more electrical capacity than the outlet and circuit provide. Avoid daisy-chaining power strips or extension cords, follow the ratings for every component, keep liquids away, and stop using cords that are hot or damaged. If the outlet is overloaded or frequently trips, ask an electrician to assess it.
People sometimes use "surge protector," "power strip," and "extension cord" as if they mean the same thing. They do not. Read the product labeling and understand what protection a device actually provides. The Electrical Safety Foundation International's extension cord guidance recommends avoiding overloads, connecting extension cords directly to a wall outlet, and never chaining extension cords together.
Use these rules for a family charging station:
- Plug the charger directly into a suitable wall receptacle whenever the layout allows.
- Do not plug one power strip into another or use an extension cord as a permanent substitute for an outlet.
- Do not force a plug, remove a grounding pin, or use a damaged receptacle.
- Keep the station away from sinks, wet counters, pet water bowls, and damp floors.
- Do not run cords through walls, under rugs, through doors, or across walking paths.
- Check the station during cleaning for warm plugs, cracked housings, frayed jackets, or loose connections.
Surge protection is also not the same as overload protection. A surge protective device is designed for transient voltage events, while a circuit breaker and the charger's own safety systems serve different functions. The ESFI overview of surge protective devices is a useful reference when deciding whether your household needs that type of protection. When in doubt about the outlet, circuit, or permanent wiring, consult a licensed professional.
How can labels and routines make the station stick?
Short answer: Give every regular user a visible bay, a named or color-coded cable lane, and a predictable time to return devices. The routine should take less than a minute: place the device, connect the cable without forcing it, and leave the bay clear enough to see the charger and connector.
A family station succeeds when it removes decisions. Instead of asking who moved the tablet or which cable belongs to the game system, each person can follow the same pattern. Labels can be simple: first names, room names, device categories, or colors that match a cable sleeve. Avoid labels that detach and become a choking hazard around young children.
Try a weekly five-minute reset:
- Remove devices that are fully charged or no longer used.
- Coil excess cable loosely and check that connectors are not under strain.
- Look for damaged jackets, bent plugs, warm adapters, or blocked ventilation.
- Wipe dust from the shelf without spraying cleaner onto electronics.
- Recount the active devices and adjust the layout if the family has changed its habits.
For younger children, make the station a supervised routine rather than an unsupervised electronics zone. Keep small tips, adapters, and loose accessories out of reach when they are not needed. For older children, make inspection part of ownership: a device does not go into a charging bay if its cable or connector is visibly damaged.
Which charger and cable setup fits a family station?
Short answer: Choose the charger and cable combination that matches your device mix, connector types, output requirements, and physical layout. A multi-port wall charger can reduce adapter clutter, while durable cables can lower replacement friction. Verify compatibility for each device rather than assuming every port or cable delivers the same result.
For a mixed family setup, start with port coverage. The KEUTEK fast wall charger collection includes current options for households that want to compare port count and output. A 65W charger with USB-C and USB-A ports may suit a family that charges phones, tablets, and smaller accessories in one place, provided its published output matches the connected devices.
Then choose cable construction for the way the station will be used. A fixed-tip cable such as the KEUTEK Sovix 100W USB-C cable is designed for compatible USB-C to USB-C charging and keeps the connection simple. A durable braided cable such as the KEUTEK ProSeries Max Fast Charging Cable can be useful when a household needs a more rugged option for repeated handling. Match the cable to the device connector and required charging profile, not just the number printed in a product name.
For background on USB-C power and port planning, the KEUTEK USB-C charger guide can help explain why charger, cable, and device capabilities need to work together. If your household is comparing a charging mat with a station, the existing charging mat guide covers a different form factor. This article's focus is the DIY layout and safer daily system around the hardware.
What should families ask before using a DIY charging station?
Is a DIY family charging station safe?
It can be when the station uses a stable, dry, open design, compatible chargers and cables, clear cable routing, and sensible outlet practices. Do not modify household wiring or use damaged accessories. If an outlet, circuit, or permanent installation is in question, ask a qualified electrician.
Can I put a charging station in a kitchen?
Yes, but choose a dry location away from sinks, stovetops, steam, splashes, and heat-producing appliances. A sideboard or wall shelf outside the main cooking zone is usually easier to keep visible, ventilated, and out of the way.
How many ports does a family charging station need?
Count the devices that regularly charge at the same time, then add limited room for occasional devices. Plan for the connector types your household actually uses and check how a multi-port charger shares output across connected devices.
Should a charger be inside a wooden charging box?
A charger should not be enclosed in a tight, unventilated box. If you build a wooden station, keep the charger in an open or ventilated section, leave room around it, and make sure devices do not cover its vents or trap heat.
How do I keep charging cables from becoming tangled?
Give each device a bay, route each cable through a smooth opening or removable clip, and coil only the extra length loosely. Label the charger end when several cable types look alike, and inspect the path regularly for pinches, sharp bends, and damaged jackets.


Leave a comment